The Settings -> Users area shows a list of Users that have been set up to use the main application, and their respective details; such as Name, Email, Role, Site Access, and Jobs associated with the user.
The list can be filtered using the below filters and exported to excel
Clicking on the User Name will bring you to the User Details view. From here you can configure the main User Details, General Settings, Email & Notification Settings, or add this user to the Manager App.
Creating A New User In The Main Application:
From the main Users list, you can create a new user by clicking on the New User button at the top-right of the page:
This will bring you to the Create User page with forms for you to populate with the user details:
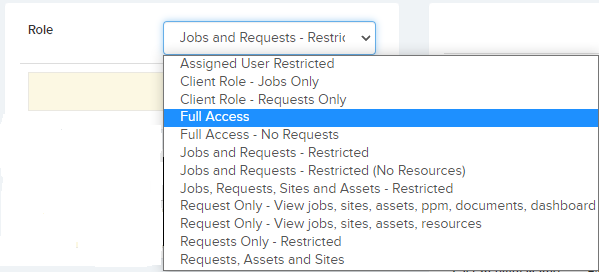
You can also select what Role this user will have. These roles will determine what this user can and cannot do in the application:
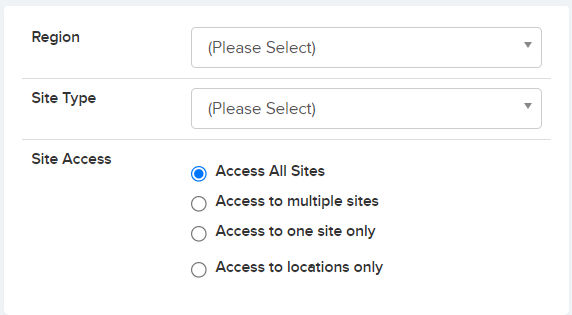
Next you can choose what Sites this new user will have access to in the application. If you choose “multiple sites” you can allocate these sites, “one site” will display a drop-down menu for you to choose from:
You can also select a specific Region or Site Type at this point.
You can then select the User Type:

(User Types can be set up in the Settings -> User Types area. Each User Type profile can be set up with certain general / email settings which can be applied to any user of that type)
You can then allocate this User to one or more Teams:

(Teams can be set up in the Settings -> Teams area. Users can also be allocated there)
When you have finished, click Save to save your new user to the Users list.


