Here you can create Client Contracts and attach your sites to a specific contract.
You can assign Resources, Sites, Regions & Priorities to a contract and set budget information, sales margins and default Schedule of rates.
The main list as seen below provides important information for each Contract.
The triple dot button will reveal a dropdown where you can:
- Export to Excel
- Set Priorities & Margins
Click Create to be directed to the Create Contract Screen.
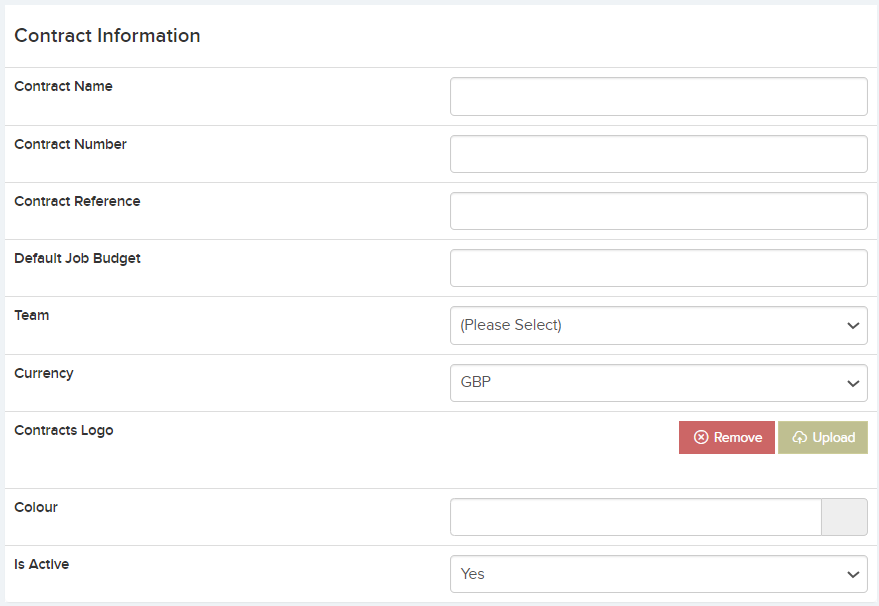
- Contract Information – Set up general information about the contract such as the name, number and reference. So when a new job is created for this contract, the job budget set here will be used. Set the default Team for this contract. When a new job is created for this contract it will be assigned to this team. Currency -This will show the selected currency when printing off Sales Quotes and Purchase orders for this contract. Note it does not calculate exchange rates. Contracts Logo – You can upload a logo here. This is useful if you are setting up a contract as a client and this logo can be the client’s logo. This logo can be then be show on certain screens and PDFs such as the Sales Quote sent to clients. Colour – The colour you set here for this contract will then display for jobs assigned to this contract on the job calendar and on the job list. Is Active – If turned off then the contract cannot be selected in contract dropdowns.
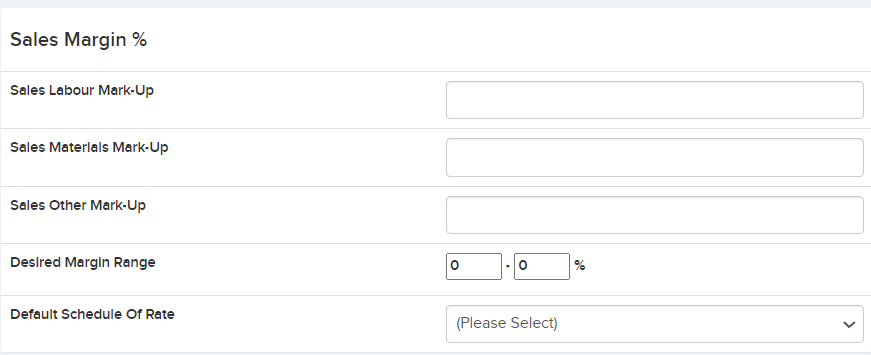
2. Sales Margin % – Here you can set the Sales margins for this contract. These margins will then be used when Generating a Sales Quote. You can also set a desired margin range. So when costing a job and adding a sales value, the user will see if the calculated sales margin falls within the desired range specified here.
Schedule of rates is relevant if you have enabled schedule of rates and visits in Settings -> Job Settings. When a job is created for this contract, then this schedule of rates for will be used when calculating sales values from the job visit.
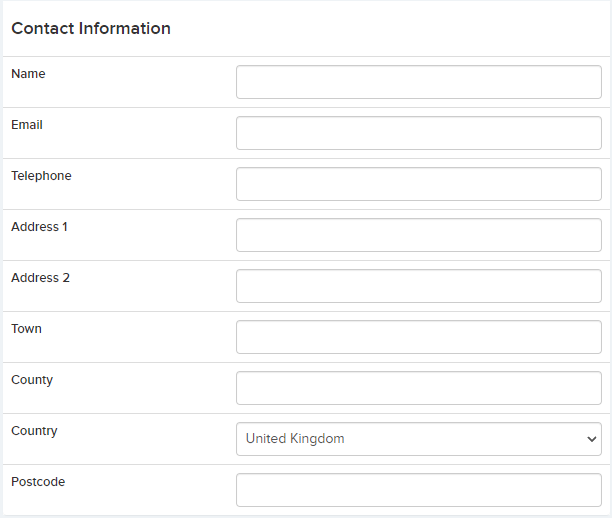
3. Contact Information – Set the contact information for the Contract here
4. Budget Information – Here you can set the Budget Value, keep track of job costs and purchase order values.
Once saved you will be directed to the Contract Details page where you will see the Sites, Priorities, Resources, Documents & Regions tab.
1. Sites– Sites can be assigned to a contract. This provides another way to group sites and is useful for organisations with many sites such as facilities companies.
2. Priorities – You can choose to select certain Priorities for each Contract here. Click ‘ Selected Priorities Only’ and add your priority.
3. Resources – You can choose to select certain Resources for each Contract here. Choose from the dropdown.
The options for this setting:
- All Resources: All resources will be available.
- All Resources Except Selected: All resources except the ones selected will be available.
- Selected Resources Only: Only the selected resources will be available
4. Documents – Upload and store documents against each contract.
5. Regions – You can restrict the regions which are available for this client contract. This will in turn restrict the sites that can can be selected.


