The Request App has 2 main access levels.
A Guest Access level and a User Access level.
Guest Access level
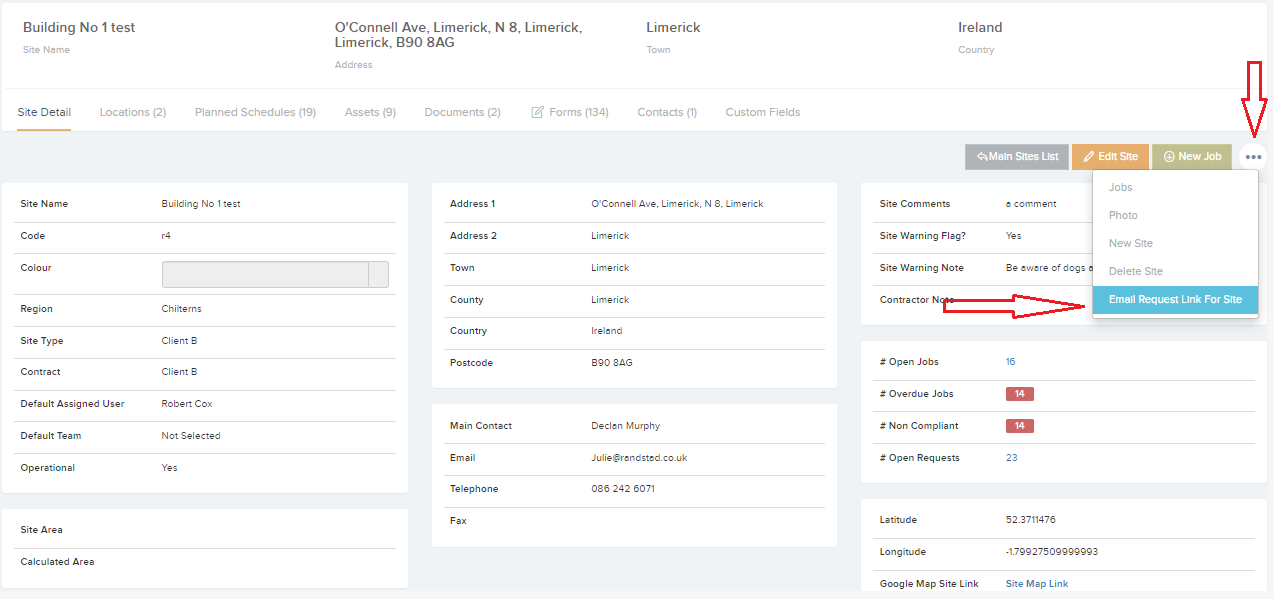
On the Site details page the client can generate a link that can be sent out to the tenant or staff member via email. When he/she clicks on the link they will be brought to the Request App with the Site and other fields pre-populated. All that is needed is for them to fill in the Request details.
As per image below click on the triple dots and then “Email Request Link For Site” – This will reveal a pop-up where you have the option to add a certain Location, Sub-location, Job Type, Sub Type, Asset and the Email Recipients.
This link can also be generated from the Location Details Page, Sub-location Details Page , Asset Details Page or at anytime from the drop-down in the top right corner of the screen.
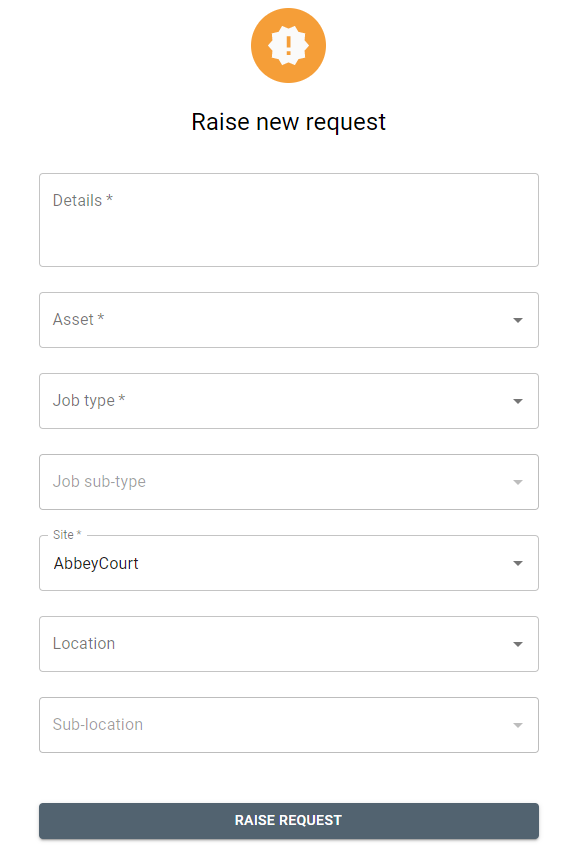
Below is what the tenant/staff member will see. Note that the Site is pre-populated.
User Access level
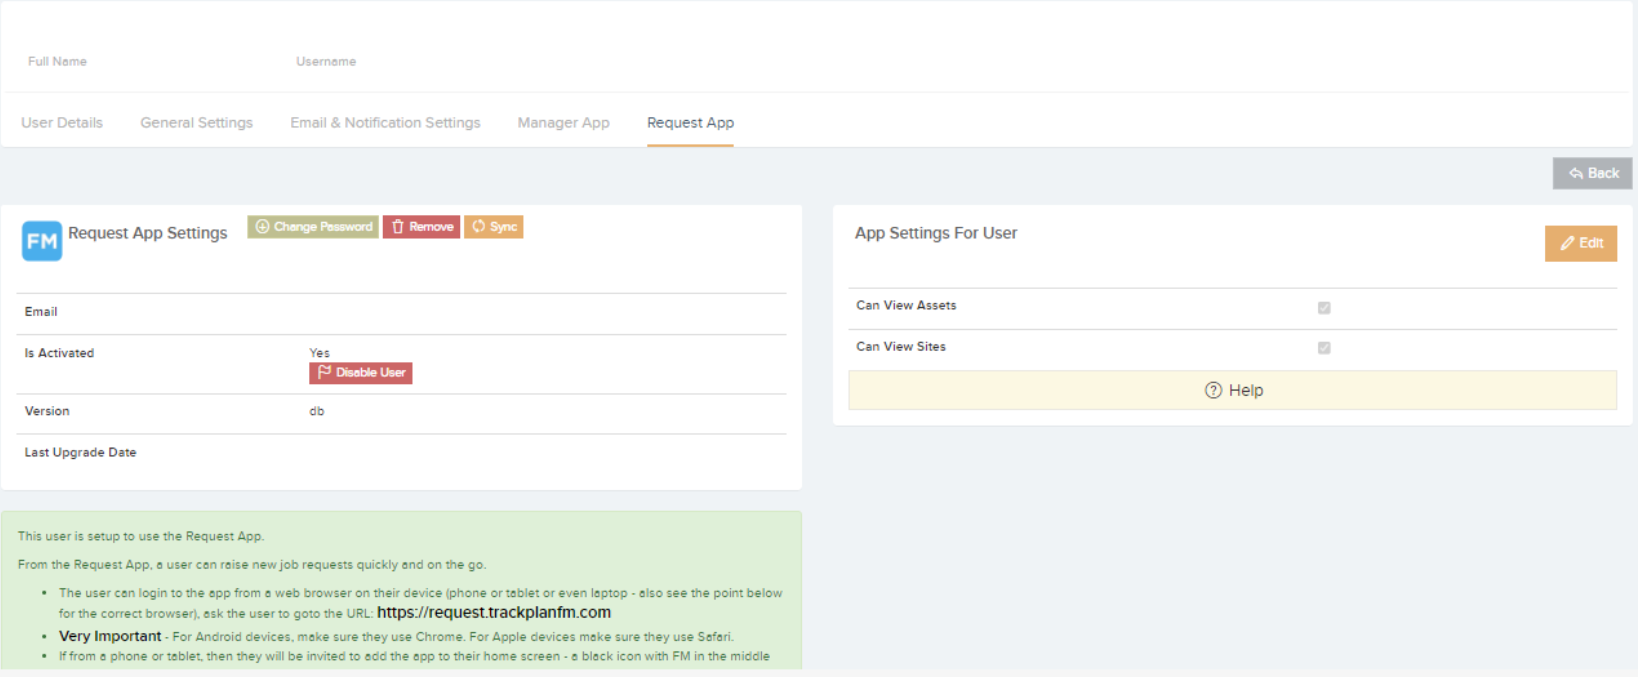
In Settings -> Users -> Request App you can give Users access to the Request App. This User Access Level gives the User access to all Sites and Assets. He/She can view all previous Requests also.
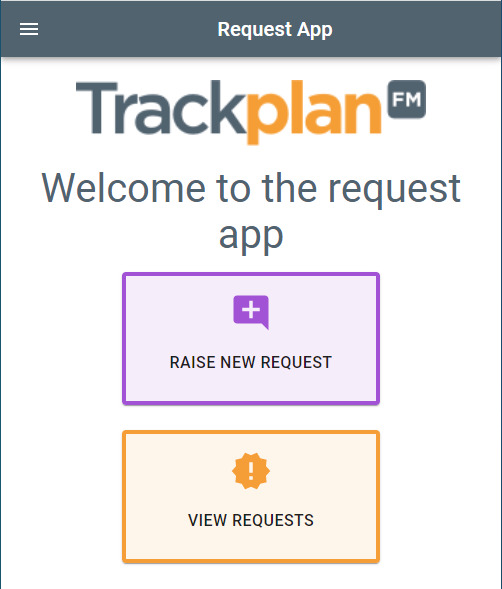
The User can login via https://request.trackplanfm.com/ and will be directed to the Homepage.
Depending on User Settings, you can have access to Sites and Assets from the Request App and have the ability to raise a request for a certain asset or site.
Settings in the Main application that will effect the Request App.
1.Settings –> Job Requests –> New Request Screen Settings: (The below 2 settings will configure the New Request Screen in the Request App. )
- Ask For Job Type in New Request – If this option is checked, then the user will be asked to select a job type (and sub type) in the first step of creating a new request.
- Ask For Single Asset – When creating a Job Request, Users can select an asset.
2.Settings –> Users –> General Settings –> Job Request Workflow Settings:
- Can Only View Own Job Requests – If set to yes then they cannot see job requests created by other users.


