Trackplan has several workflow methods that help with job management:
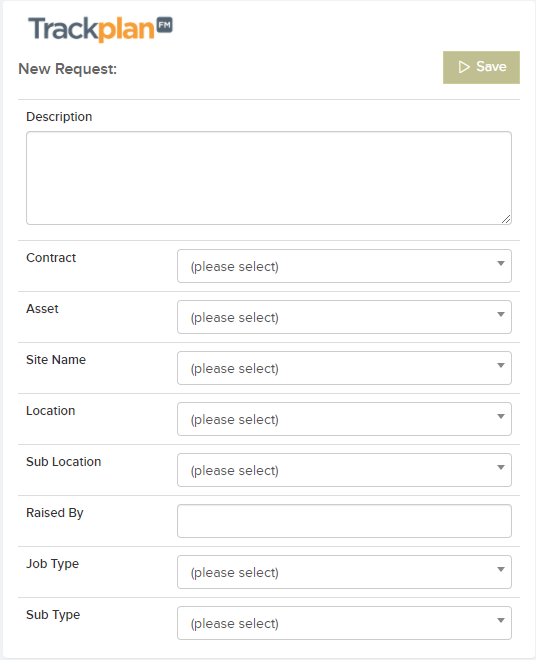
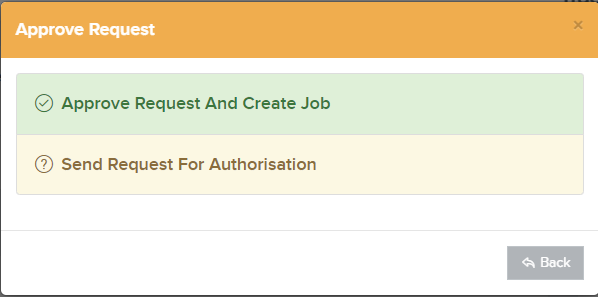
1. Work Orders / Issues can be created as a Job Request, which can then be approved into reactive jobs. These requests can be sent for authorisation, and the requester can confirm or reject the work that has been done.
2. Jobs can be “approved” first by one type of user before they can be completed by a more senior user.
3. Completion of a job task by a resource (contractor / engineer) can fully complete job, or set status to “resource confirmed complete” still requiring full sign-off.
4. Jobs can be sent for authorisation. Set up a Job Category in the settings area with ‘Requires Authorisation’ turned on. When creating a new job choose the required Category. This will then set the Job Status to ‘Requires Auth’
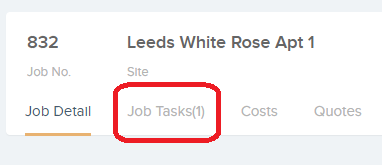
5. Jobs can be broken into multiple job tasks. A Job Task is created once a resource is instructed but multiple tasks can be created under the one Job.
6. Jobs can be sent for a “request for quote”. This can be done when instructing a resource. Contractors can submit quotes via the Contractors Portal or Resource App. Contractor quotes can also be created in the Main Application under the Quotes tab on the Job Details Page.
A setting in the Users general settings can restrict Users from approving Contractor Quotes.
Settings –> Users –> General Settings –> Can Approve Contractor Quote.
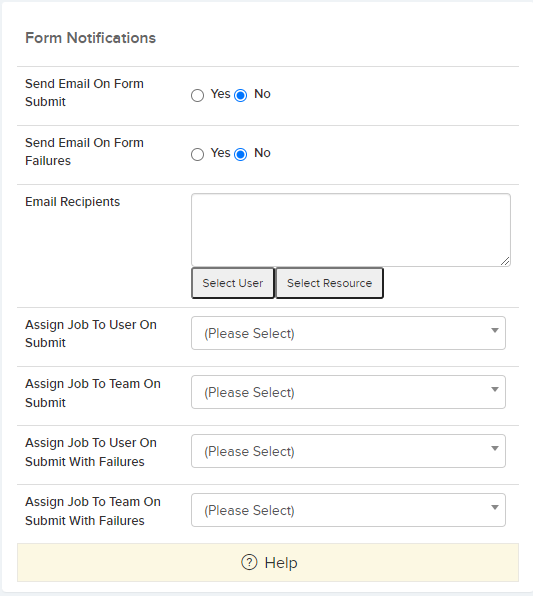
7. When a Form is submitted with failures, the Job can be reassigned to a specific team/user. This can be set up in the Form Designer.
8. Default Risk Assessment Form – When a form is selected the resource must complete the form before a job can be accepted by the resource. This is a setting on the Resource details page.
9. Authorisation levels for Purchase orders. Confirmation bands can be used to set specific users to confirm purchase orders based on the value. This can be done in Settings –> Purchase Order Settings.
10. New job requests of a certain job type can be assigned to a specific team. This can be set up in Settings –> Reactive Job Types or Settings –> Planned Job Types.
Set a specific Team to the Job Type and when creating a New Job and choose that Job Type from the dropdown the team will automatically be chosen. As per image below, the ‘North’ team will be assigned to all jobs with a Job type of ‘Carpentry’
11. New job requests can be auto approved dependent on job type. This can be set up in Settings –> Teams.
When creating a Team set ‘Auto Approve Job Requests’ to True. Assign that team to a certain Job type in Settings –> Reactive Job Types. All Job Requests with that Job Type will be auto approved into Reactive Jobs.
12. Advanced Job Routing – Jobs can be routed to a user, team or resource dependent on a combination of job type, site and other factors. This can be set up in Settings –> Advanced Job Routing. As per image below, all reactive jobs with Job Type of Plumbing at the site ‘Beaconfield’ will be routed to the Plumbing Team.
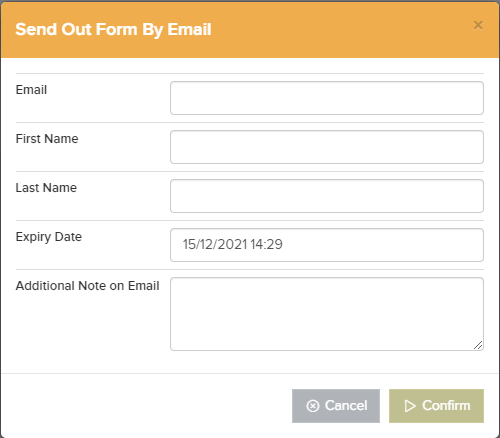
13. Electronic Forms can be emailed to external users for completion. When creating or editing a form in the Form Designer set the setting – ‘Can Form be sent out by email to remote users’ to YES. Then on the Form you will have the option to ‘Send From. A pop up will appear where you can enter any email address.
Each Users workflow settings can be managed in Settings –> Users –> General Settings.
- Can Jobs Be Assigned To This User – Set if jobs can be assigned to this user.
- Can Assign Jobs – This User can Assign Jobs to all assigned Users, only to themselves and other team members, just to themselves OR cannot assign jobs
- Can Only View Their Assigned Jobs, and Jobs and Requests in their Team – Can only view the jobs assigned to them, and the jobs and requests in their teams.
- Can only view resources and teams for their teams – Set this to true and this user can only view and select Resources and Teams from their own teams.
- Can Authorise Jobs – Can authorise jobs sent for authorisation (in “Need Auth” status)
- Can Approve But Not Complete Job – If set to yes user can only approve a job but not complete the job
- Can View All Job Notes – If set to no then the user cannot see job notes flagged as private. Job notes are classified as public or private
- Can View Resource Notes – If set to no then the user cannot see notes created by a resource from the resource portal or app.
- Can Edit All Job Notes – If set to yes then can edit all notes including the system generated notes
- New Job Notes Default To Private status – If set to yes then any new Job Notes added by the user will have its status set to Private
- Note Type Group – The note group dropdown determines which Job Note Types this User can select in job notes on the job details page. Note groups and note types are be set up in the Settings area.
- Can Approve Contractor Quote – If enabled, the user can approve or decline quotes on the quotes page.
