The Trackplan apps use PWA technology, which allows you to save a web application directly to the home screen of your mobile device, and use like any other app.
When you have successfully saved the Trackplan Resource / Contractor app to your device, you are free to sign in using your resource user login information:

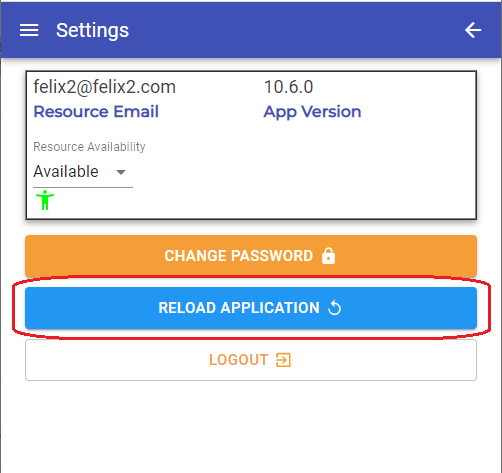
When you first open the app, you may have to sync to the main application. To do this, first ensure you have an internet connection, go to Settings and click Reload Application:
If you do not have access to an internet connection, the app will sync once you re-connect at a later time. Syncing the Resource app to the main application will make sure all jobs and other information will be up to date.
The main home screen of the Resource app will display the Job Task List. This list will show all jobs / job tasks that have been assigned to the user login information used to sign in:

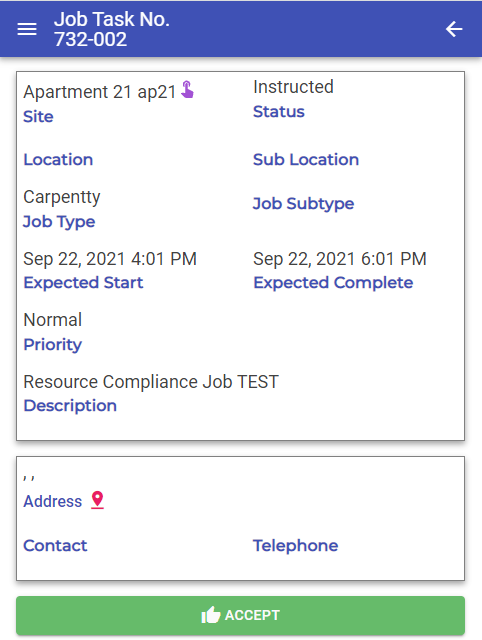
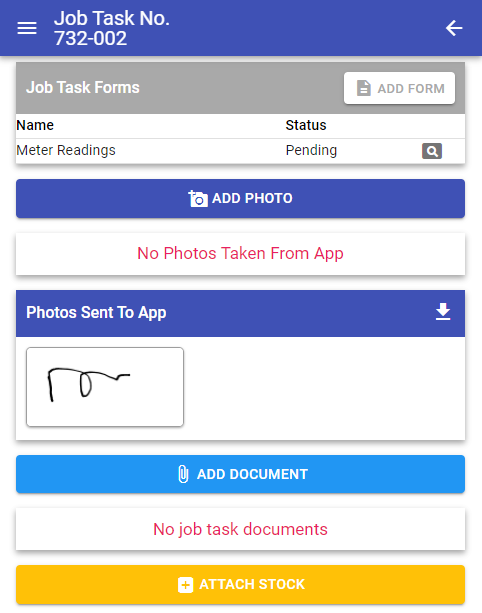
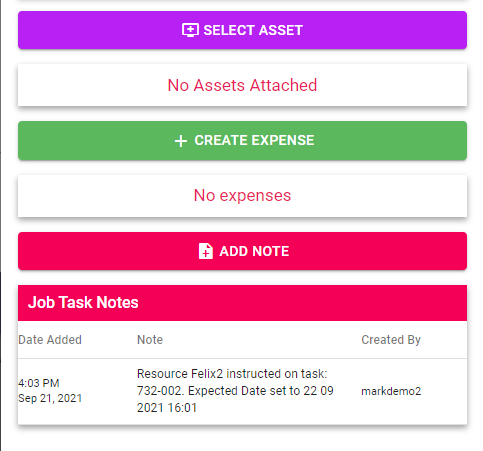
Selecting any job on the list will open the Job Task Details page which display all relevant information for that job / job task:
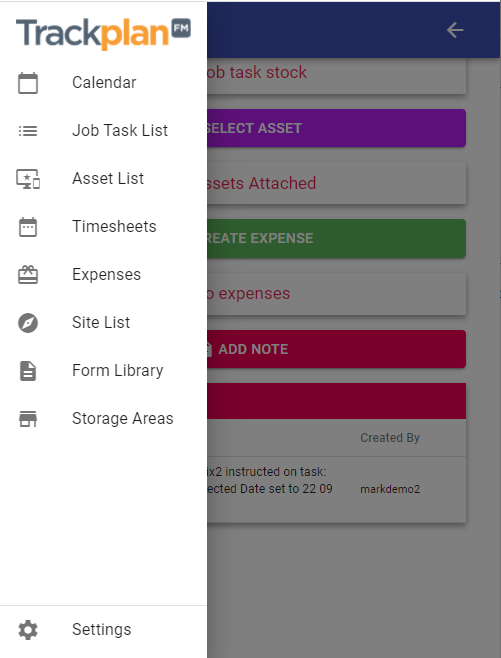
This icon will open the sidebar menu:

From here you can see all available features and options from within the Resource app;
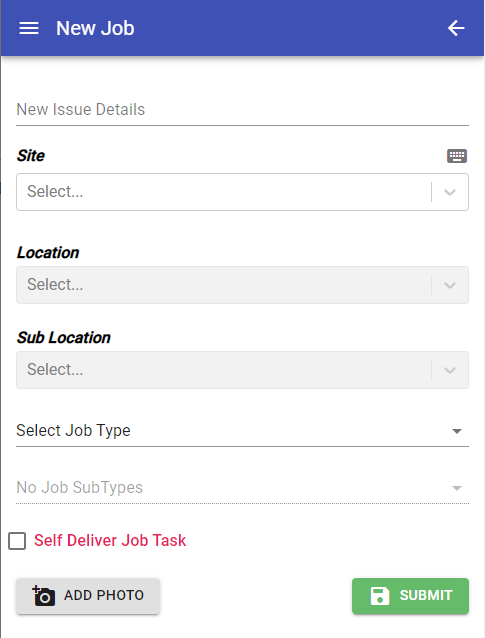
The + icon on the Jobs List view will allow you to create a new job from within the app. You will be taken to the New Job page where you will be asked to fill out the new job form:
You are required to fill in the “New Issue Details” and “Site” information, you can then give more information if needed such as the location / sub-location within a site, and job type / sub-type. You can also add photos to this job, if needed to give more information about the job itself. Photos can be uploaded from the device, or taken through the camera feature in-app.
Before you submit the job, you have the option to “Self Deliver”, which means this new job will automatically be associated with you, and you can get on with completing the task immediately after creating. When you are ready, select Submit:
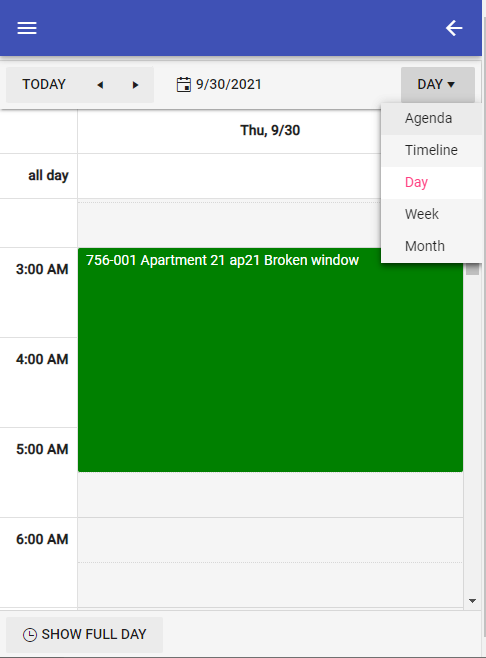
The Calendar can be view by day, week, month, agenda or timeline.
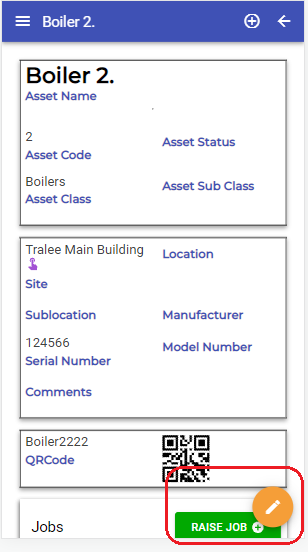
The Assets List provides a list of all the assets. You can create a new asset by clicking on the + icon in the top right of the screen. Clicking on any asset will bring you to the Asset Details page where you can view all information about that asset, edit the details, generate a QR code for that asset or Raise a new Job against that asset.
Timesheets will open the timesheets page. From here you can view all timesheets that have been logged, and their status i.e. “Pending”, “Submitted”, “Approved”.

Each timesheet will have information about jobs and tasks that have been carried out, specifically the hours logged for each job task. When a time sheet has been submitted it will appear on the list as status of “Submitted”, each timesheet can be viewed by simply selecting it:

If a timesheet has a status of “Pending”, it has not yet been submitted, and if selected, will appear with these icons next to each task logged. This icon allows you to edit the times for each task:

Selecting the pencil icon will bring you to the Edit Time Records view, where you can change the times if needed, and provide a reason for the edit:

Expenses will open the expenses view, where you can view and manage all expenses that have been created. Expenses will appear in the list with the status of either “Pending” or “Submitted”:

Each expense item in the list can be viewed by selecting one from the list. This will show all the information for this expense, you will have the option to add a document, and you can also edit or submit a “Pending” expense:

From the main expenses list, there is an option to Create Expense:
This will take you to the Create Expense page where you can populate the form with the relevant information:

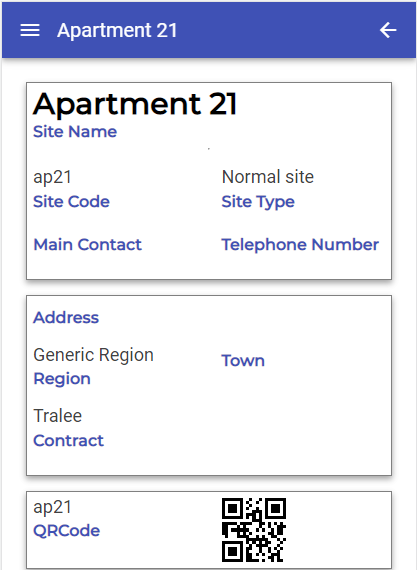
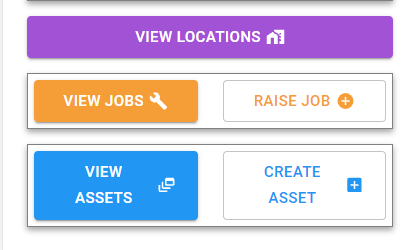
The Site List provide a list of all sites. Clicking on any site will take you to the Site details page where you can view all information about that Site, view Locations within that site, view all Job Tasks associated to that site or Raise a Job against that site, view and create am asset for that site.
Form Library will show the forms from the Form Library that are visible to the user you are logged in as:

Select Start New Form to fill out the relevant form you wish to use. A pop-up will appear asking you to confirm that you would like to start a new form:

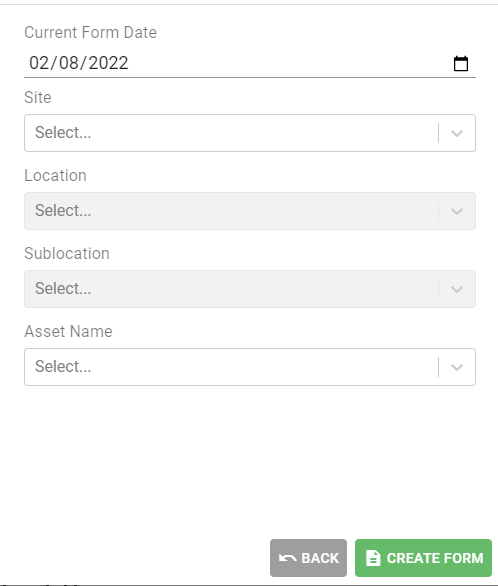
Click OK and another pop-up will ask you to fill out the date , site, location, sub location or asset.
Now Select Create Form and you will be taken to a blank template for you to fill out. Once the form is completed, select Submit:

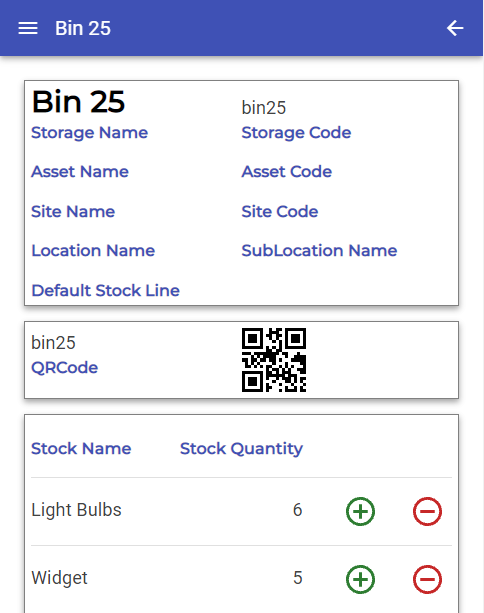
Storage Areas provide a list of all storage areas and Stock & stock quantities within that area. Stock can QR Codes can be generated from the main application and attached to storage area. Stock can be adjusted by clicking on either the Plus or Minus icons.
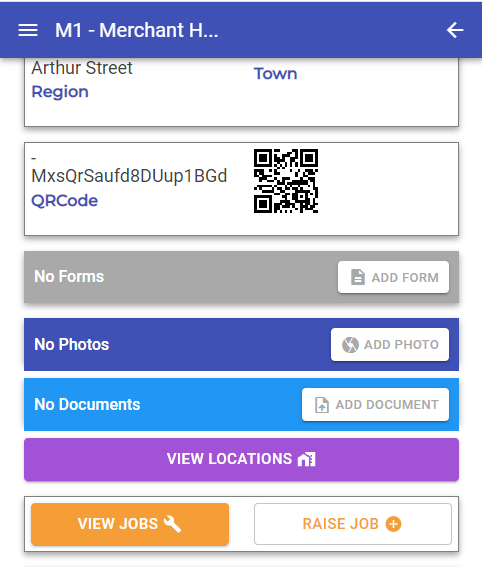
Resources can also navigate to the Site, Location, Sub Location or Asset Details page to Add and Complete a form. Forms that appear in the ‘Add Form’ list are determined by a setting in the Form Designer. ‘App User Can Add This Form to a Job, Site, Location or Asset’ – If this is set to Yes, then an App User will have the ability to add this form to the Job, Site, Location, Sub Location or Asset.
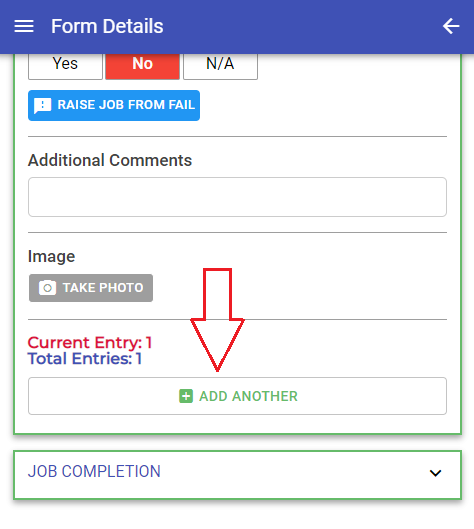
If a Form has been designed in the Main application with repeatable sections you will see the ‘Add Another’ button at the bottom of that section. The Resource will then have the ability to navigate to view all sections and make changed is necessary.
Navigating to any Site or Asset via the menu button the Resource has the ability to upload photos or documents. These files will then be available in the main application.
